In class we have been learning how to maneuver Premiere Pro, this is what I have learned.
Start - In order to start you will need to do one of two things. You can either import a file you already have or create a new one. During this part of the process, you can change the location of your files in order to find them more easily. Once you open Premiere Pro you will then start to add your clips.
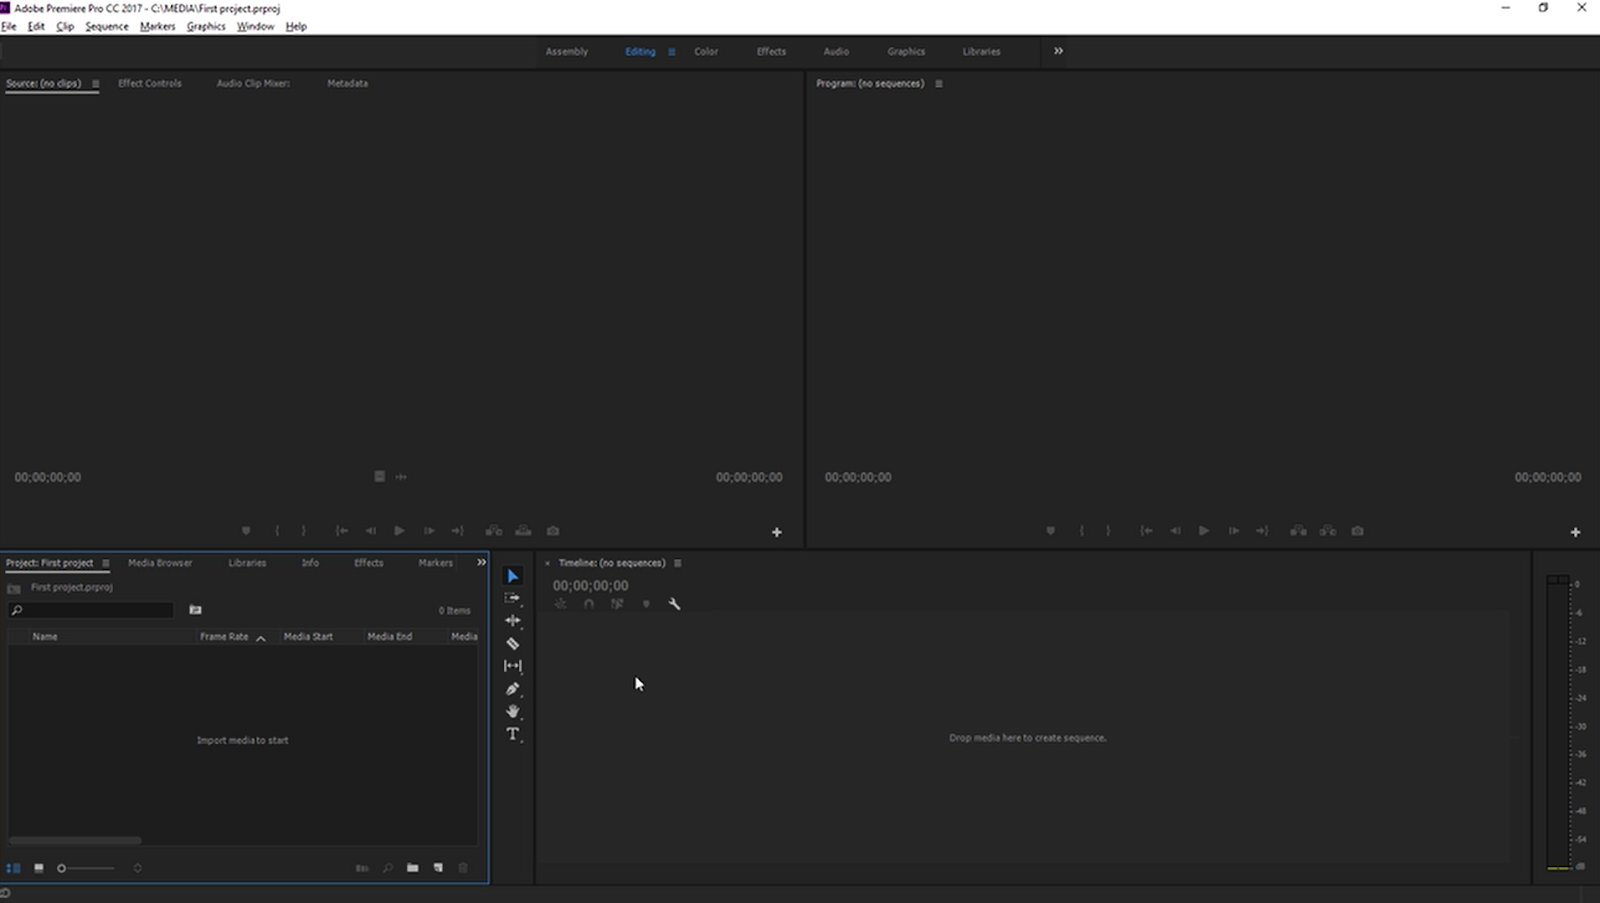
Here is a picture of what a new project should look like in Premiere Pro.
Importing media - To import media, you first need to locate where your clips and files are, for example, a media folder. To import these files just right-click on them and click import. To view one of your clips you can double-click them, and they will appear in the source monitor.
Here is a picture of what it looks like.
Adding clips to a sequence - In order to add plips to a sequence you first need to make one. you can create a sequence by clicking on the new menu button in the project Panel and pressing sequence. Once your sequence is open you can add your clips by clicking and dragging them from the Project panel onto the track in the Timeline panel. If you are viewing a clip in the source panel you can also drag the video or the audio by itself. Here is a picture of what clips added to a sequence look like.
Simple audio adjustments - The first thing you have to do for this part is open the audio clip panel. You can do this by pressing the window button and clicking the audio clip mixer. This allows you to change the volume for certain audio. This section also allows you to mute or solo an audio clip. Here is a picture of a simple audio adjustment.


Comments
Post a Comment