We are learning about audio in Premiere Pro and how to use it, this is what I learned.
Understanding audio levels - The first thing you need to know about audio is that it's measured in Decibels (dB). Once you open Premiere Pro you will see the audio meter panel on the bottom right of your screen. It's important to know that the audio meter panel will show one meter for each audio channel in the sequence. Right-clicking this panel will allow you to change the audio level of the peaks, dB range, and color gradient. These are all tools to help you better understand audio levels.
Audio effects - To start adding effects to your audio you will need to go to the effects panel where there are many different effects to choose from. In order to apply an effect, you can click and drag the effect on a single audio. You can also shirt click on multiple audios and double-click on the effect; this will apply the effect on all the clips. This is what your screen can look like.
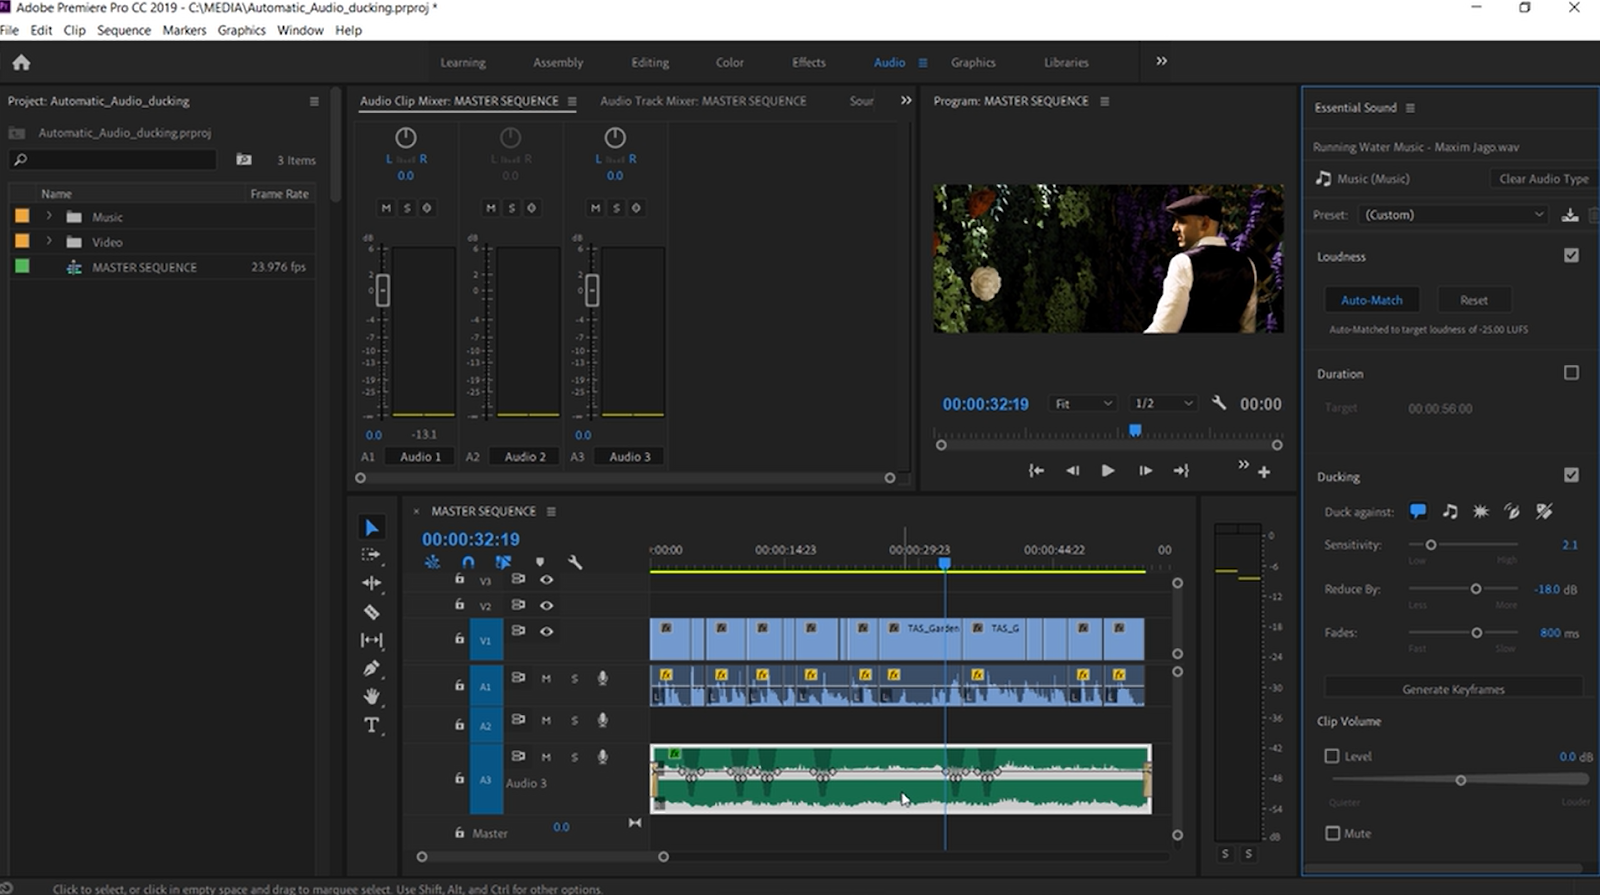
Audio ducking - One of the first things you will do when starting audio ducking is categorize your clips into different categories like music or dialogue. Audio ducking allows for manual adjustment of the key frame if needed. It is also great when you want to adjust the loudness level of your audio so that it fits with your clip's audio type.
Mixing multichannel audio - To start you will need to import an audio clip into the source monitor. Click and drag the audio clip into the audio waveform. There are multiple different channels and setting you can play around with in order to get your audio sounding just right.
Adjusting audio track volume - If wanting to create a well-final mix you will want to adjust the audio track and audio clip levels. Once you open the volume keyframes you can start to edit your audio to what best serves you. When done just drag and place your new edited audio and you're done.


Comments
Post a Comment